
CodeIgniter Form helper
0 3300
Form helper contains functions that help us for working with forms.
Related Topics:
 Step 3 Press CTRL+U and see the source code, where you will find the form code.
 Adding Hidden Input Fields:
We can also add a hidden input field by adding an associative array as the third parameter in it.
Example:
Replace the code of Form_open.php from the given code.
Adding Hidden Input Fields:
We can also add a hidden input field by adding an associative array as the third parameter in it.
Example:
Replace the code of Form_open.php from the given code.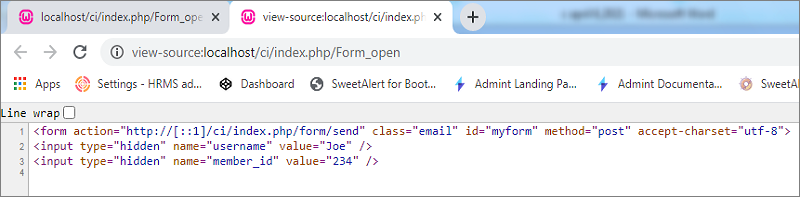
2 form_open_multipart(): This function is used to creates an HTML form like function form_open(), but it also adds multipart attributes in it which is essential to send files through form. Syntax: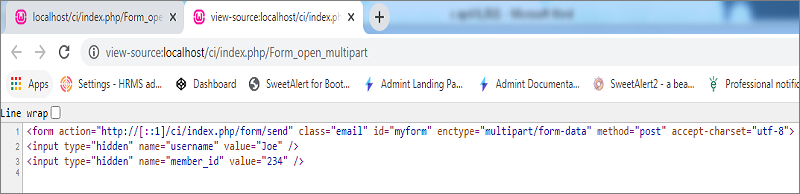
3 form_hidden(): This function is used to generate hidden input fields. We have two ways means we can generate it either by adding name and value in a simple way or by adding an associative array with it. Syntax: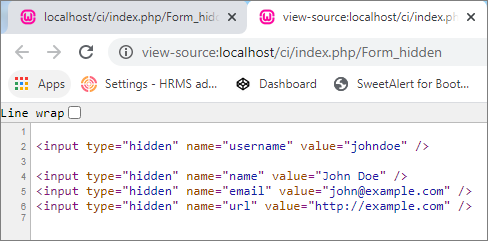
4 form_input(): This function is used to generate a standard text input field. Syntax:
5 form_password(): This function is used to generate a standard password input field. Syntax: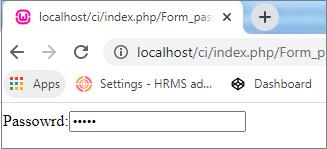
6 form_upload(): This function is used to generate a standard file input field. Syntax: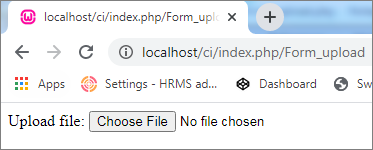
7 form_textarea(): This function is used to generate a standard textarea input field. Syntax: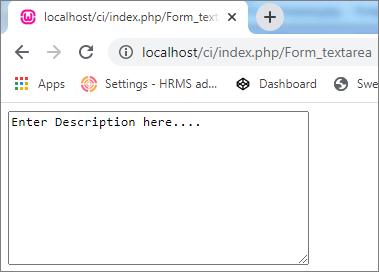
8 form_dropdown(): This function is used to generate a standard drop-down field. Syntax: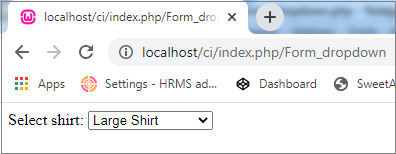
9 form_multiselect(): This function is used to generate a standard multi-select field. Style: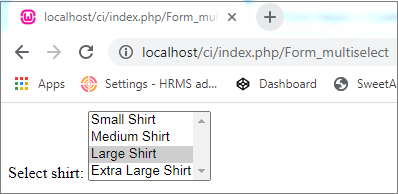
10 form_fieldset(): This function is used to generate fieldset/legend fields. Syntax: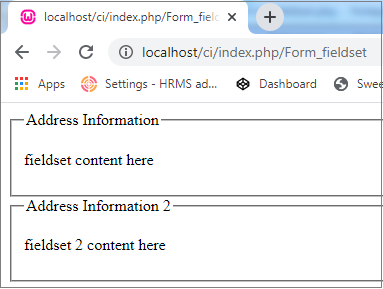
11 form_fieldset_close(): This function is used to produce a closing </fieldset> tag. Syntax: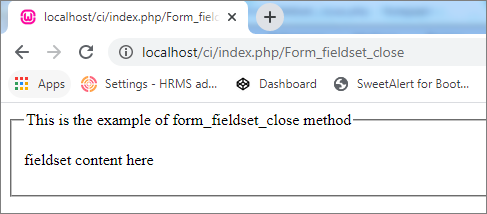
12 form_checkbox(): This function is used to generate a standard checkbox field. Syntax: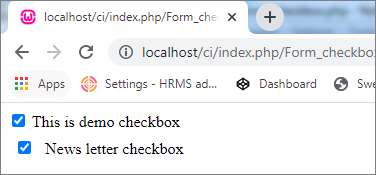
13 Form_radio(): This function is used to generate a radio input type field. Syntax: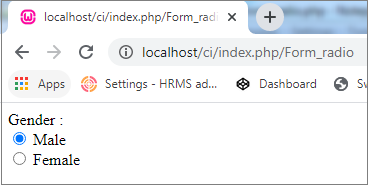
14 form_label(): This function is used to generate a <label> tag. Syntax: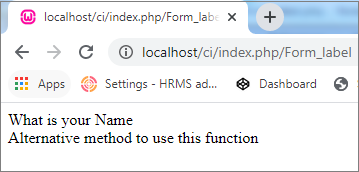 Press CTRL+U to see the tag produced by the above code.

15 form_submit(): This function is used to generate a standard submit button. Syntax: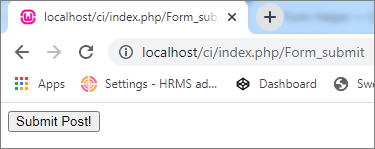
16 form_reset(): This function is used to generate a standard reset button. Syntax: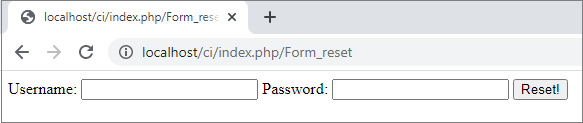 Enter username and password and click on the reset button to clear both input fields.
17 form_button(): This function is used to generate a standard button element. Syntax: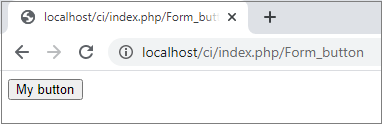
18 form_close(): This function is used to produces a closing </form> tag. Syntax: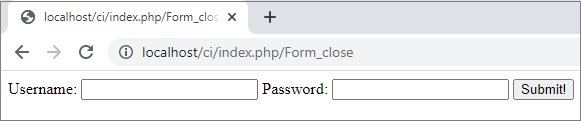 Press the CTRL+U button to see the source code.

19 set_value(): This function is used to set the value of an input form or textarea. Syntax: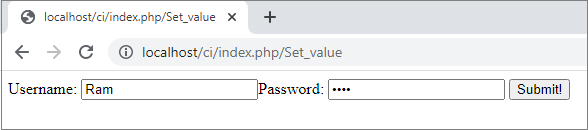
20 set_select(): This function is used to display the menu item of a <select> tag that was selected. Syntax: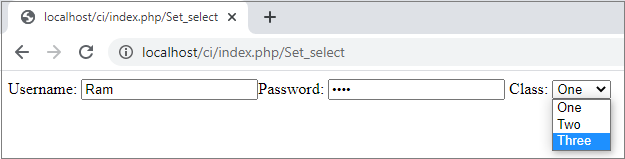
21 set_checkbox(): This function is used to display a checkbox in the state it was submitted. Syntax: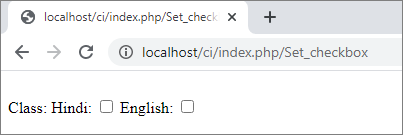
22 set_radio(): This function is used to display radio buttons in the state they were submitted. Syntax: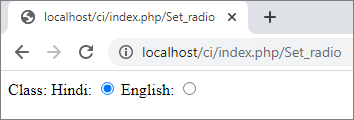
23 form_error(): This function is used to returns a validation error message from the Form Validation Library, associated with the specified field name. Syntax:
24 validation_errors(): This function is used to returns all validation error messages produced by the Form Validation Library, with optional opening and closing tags around each of the messages. Syntax:
25 form_prep(): This function is used to allows you to safely use HTML and characters such as quotes within form elements without breaking out of the form. Syntax:
Related Topics:
Codeigniter Interview Questions
CodeIgniter Directory helper
CodeIgniter Download Helper
Loading this Helper:
Use the given line in your controller or model file to load the Form helper.$this->load->helper("form");
The following functions are available in this helper
1 form_open(): This function is used to creates an opening form tag with a base URL built from your config preferences. It provides the facility to add form attributes and hidden input fields automatically and also adds the accept-charset attribute based on the charset value in your config file.
Syntax:form_open([$action = ''[, $attributes = ''[, $hidden = array()]]]);Parameter description:
- $action (string) – Form action/target URI string
- $attributes (array) – HTML attributes
- $hidden (array) – An array of hidden fields’ definitions
<?phpStep 2 Enter the given URL into the browser to see the result.
class Form_open extends CI_Controller {
public function index() {
$this->load->helper('form'); //load Form helper
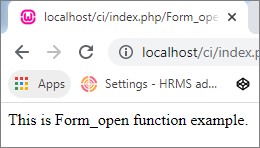
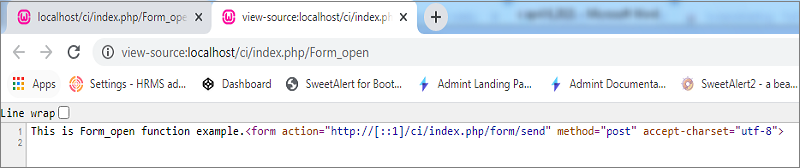
echo "This is Form_open function example.";
echo form_open('form/send');
}
}
?>
http://localhost/ci/index.php/Form_open
Step 3 Press CTRL+U and see the source code, where you will find the form code.
Note:
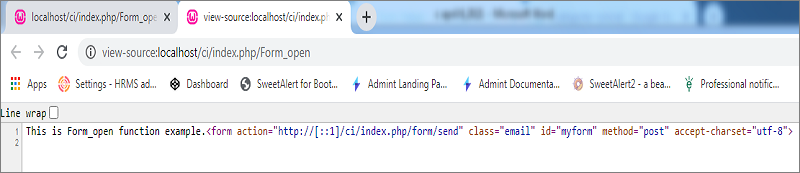
We can also pass attributes in the tag by adding an associative array to it.
For example:<?phpReplace the code of Form_open .php from this, then you will find the given output.
class Form_open extends CI_Controller {
public function index() {
$this->load->helper('form'); //load Form helper
echo "This is Form_open function example.";
$attributes = array('class' => 'email', 'id' => 'myform');
echo form_open('form/send', $attributes);
}
}
?>
Adding Hidden Input Fields:
We can also add a hidden input field by adding an associative array as the third parameter in it.
Example:
Replace the code of Form_open.php from the given code.<?phpOutput:
class Form_open extends CI_Controller {
public function index() {
$this->load->helper('form'); //load Form helper
$attributes = array('class' => 'email', 'id' => 'myform');
$hidden = array('username' => 'Joe', 'member_id' => '234');
echo form_open('form/send', $attributes,$hidden);
}
}
?>
2 form_open_multipart(): This function is used to creates an HTML form like function form_open(), but it also adds multipart attributes in it which is essential to send files through form. Syntax:
form_open_multipart([$action = ''[, $attributes = array()[, $hidden = array()]]]);Parameter description:
- $action (string) – Form action/target URI string
- $attributes (array) – HTML attributes
- $hidden (array) – An array of hidden fields’ definitions
<?phpStep 2 Enter the given URL into the browser to see the result.
class Form_open_multipart extends CI_Controller {
public function index() {
$this->load->helper('form'); //load Form helper
$attributes = array('class' => 'email', 'id' => 'myform');
$hidden = array('username' => 'Joe', 'member_id' => '234');
echo form_open_multipart('form/send',$attributes,$hidden);
}
}
?>
view-source:http://localhost/ci/index.php/Form_open_multipart
3 form_hidden(): This function is used to generate hidden input fields. We have two ways means we can generate it either by adding name and value in a simple way or by adding an associative array with it. Syntax:
form_hidden($name[, $value = '']);Parameter description:
- $name (string) – Field name
- $value (string) – Field value
<?phpStep 2 Enter the given URL into the browser to see the result.
class Form_hidden extends CI_Controller {
public function index() {
$this->load->helper('form'); //load Form helper
echo form_hidden('username', 'johndoe');
$data = array(
'name' => 'John Doe',
'email' => 'john@example.com',
'url' => 'http://example.com'
);
echo form_hidden($data);
}
}
?>
view-source:http://localhost/ci/index.php/Form_hidden
4 form_input(): This function is used to generate a standard text input field. Syntax:
form_input([$data = ''[, $value = ''[, $extra = '']]]);Parameter description:
- $data (array) – Field attributes data
- $value (string) – Field value
- $extra (mixed) – Extra attributes to be added to the tag either as an array or a literal string
<?phpStep 2 Enter the given URL into the browser to see the result.
class Form_input extends CI_Controller {
public function index() {
$this->load->helper('form'); //load Form helper
echo form_input('username', 'johndoe');
$data = array(
'name' => 'class',
'id' => 'class',
'value' => '4',
'maxlength' => '100',
'size' => '50',
'style' => 'width:50%'
);
echo form_input($data);
}
}
?>
http://localhost/ci/index.php/Form_input
5 form_password(): This function is used to generate a standard password input field. Syntax:
form_password([$data = ''[, $value = ''[, $extra = '']]]);Parameter description:
- $data (array) – Field attributes data
- $value (string) – Field value
- $extra (mixed) – Extra attributes to be added to the tag either as an array or a literal string
<?phpStep 2 Enter the given URL into the browser to see the result.
class Form_password extends CI_Controller {
public function index() {
$this->load->helper('form'); //load Form helper
echo '<span>Passowrd:</span>';
echo form_password('password', '12345');
}
}
?>
http://localhost/ci/index.php/Form_password
6 form_upload(): This function is used to generate a standard file input field. Syntax:
form_upload([$data = ''[, $value = ''[, $extra = '']]]);Parameter description:
- $data (array) – Field attributes data
- $value (string) – Field value
- $extra (mixed) – Extra attributes to be added to the tag either as an array or a literal string
<?phpStep 2 Enter the given URL into the browser to see the result.
class Form_upload extends CI_Controller {
public function index() {
$this->load->helper('form'); //load Form helper
echo '<span>Upload file: </span>';
echo form_upload('file', '');
}
}
?>
http://localhost/ci/index.php/Form_upload
7 form_textarea(): This function is used to generate a standard textarea input field. Syntax:
form_textarea([$data = ''[, $value = ''[, $extra = '']]]);Parameter description:
- $data (array) – Field attributes data
- $value (string) – Field value
- $extra (mixed) – Extra attributes to be added to the tag either as an array or a literal string
<?phpStep 2 Enter the given URL into the browser to see the result.
class Form_textarea extends CI_Controller {
public function index() {
$this->load->helper('form'); //load Form helper
echo form_textarea('des', 'Enter Description here....');
}
}
?>
http://localhost/ci/index.php/Form_textarea
8 form_dropdown(): This function is used to generate a standard drop-down field. Syntax:
form_dropdown([$name = ''[, $options = array()[, $selected = array()[, $extra = '']]]]);Parameter description:
- $name (string) – Field name
- $options (array) – An associative array of options to be listed
- $selected (array) – List of fields to mark with the selected attribute
- $extra (mixed) – Extra attributes to be added to the tag either as an array or a literal string
<?phpStep 2 Enter the given URL into the browser to see the result.
class Form_dropdown extends CI_Controller {
public function index() {
$this->load->helper('form'); //load Form helper
echo "<span>Select shirt: </span>";
$options = array(
'small' => 'Small Shirt',
'med' => 'Medium Shirt',
'large' => 'Large Shirt',
'xlarge' => 'Extra Large Shirt',
);
echo form_dropdown('shirts', $options, 'large');
}
}
?>
http://localhost/ci/index.php/Form_dropdown
9 form_multiselect(): This function is used to generate a standard multi-select field. Style:
form_multiselect([$name = ''[, $options = array()[, $selected = array()[, $extra = '']]]]);Parameter description:
- $name (string) – Field name
- $options (array) – An associative array of options to be listed
- $selected (array) – List of fields to mark with the selected attribute
- $extra (mixed) – Extra attributes to be added to the tag either as an array or a literal string
<?phpStep 2 Enter the given URL into the browser to see the result.
class Form_multiselect extends CI_Controller {
public function index() {
$this->load->helper('form'); //load Form helper
echo "<span>Select shirt: </span>";
$options = array(
'small' => 'Small Shirt',
'med' => 'Medium Shirt',
'large' => 'Large Shirt',
'xlarge' => 'Extra Large Shirt',
);
echo form_multiselect('shirts', $options, 'large');
}
}
?>
http://localhost/ci/index.php/Form_multiselect
10 form_fieldset(): This function is used to generate fieldset/legend fields. Syntax:
form_fieldset([$legend_text = ''[, $attributes = array()]]);Parameter description:
- $legend_text (string) – Text to put in the <legend> tag
- $attributes (array) – Attributes to be set on the <fieldset> tag
<?phpStep 2 Enter the given URL into the browser to see the result.
class Form_fieldset extends CI_Controller {
public function index() {
$this->load->helper('form'); //load Form helper
echo form_fieldset('Address Information');
echo "<p>fieldset content here</p>\n";
echo form_fieldset_close();
$attributes = array(
'id' => 'address_info',
'class' => 'address_info'
);
echo form_fieldset('Address Information 2', $attributes);
echo "<p>fieldset 2 content here</p>\n";
echo form_fieldset_close();
}
}
?>
http://localhost/ci/index.php/Form_fieldset
11 form_fieldset_close(): This function is used to produce a closing </fieldset> tag. Syntax:
form_fieldset_close([$extra = '']);Parameter description:
- $extra(string) – Anything to append after the closing tag, as is
<?phpStep 2 Enter the given URL into the browser to see the result.
class Form_fieldset_close extends CI_Controller {
public function index() {
$this->load->helper('form'); //load Form helper
echo form_fieldset('This is the example of form_fieldset_close method');
echo "<p>fieldset content here</p>\n";
echo form_fieldset_close();
}
}
?>
http://localhost/ci/index.php/Form_fieldset_close
12 form_checkbox(): This function is used to generate a standard checkbox field. Syntax:
form_checkbox([$data = ''[, $value = ''[, $checked = FALSE[, $extra = '']]]]);Parameter description:
- $data (array) – Field attributes data
- $value (string) – Field value
- $checked (bool) – Whether to mark the checkbox as being checked
- $extra (mixed) – Extra attributes to be added to the tag either as an array or a literal string
<?phpStep 2 Enter the given URL into the browser to see the result.
class Form_checkbox extends CI_Controller {
public function index() {
$this->load->helper('form'); //load Form helper
echo form_checkbox('demo', 'accept', TRUE);
echo "This is demo checkbox<br>";
$data = array(
'name' => 'newsletter',
'id' => 'newsletter',
'value' => 'accept',
'checked' => TRUE,
'style' => 'margin:10px'
);
echo form_checkbox($data);
echo "News letter checkbox";
}
}
?>
http://localhost/ci/index.php/Form_checkbox
13 Form_radio(): This function is used to generate a radio input type field. Syntax:
form_radio([$data = ''[, $value = ''[, $checked = FALSE[, $extra = '']]]]);Parameter description:
- $data (array) – Field attributes data
- $value (string) – Field value
- $checked (bool) – Whether to mark the radio button as being checked
- $extra (mixed) – Extra attributes to be added to the tag either as an array or a literal string
<?phpStep 2 Enter the given URL into the browser to see the result.
class Form_radio extends CI_Controller {
public function index() {
$this->load->helper('form'); //load Form helper
echo "Gender : <br>";
echo form_radio('gender', 'male', TRUE);
echo "Male<br>";
$data = array(
'name' => 'gender',
'id' => 'gender',
'value' => 'female',
'checked' => FALSE,
'style' => ''
);
echo form_radio($data);
echo "Female";
}
}
?>
http://localhost/ci/index.php/Form_radio
14 form_label(): This function is used to generate a <label> tag. Syntax:
form_label([$label_text = ''[, $id = ''[, $attributes = array()]]]);Parameter description:
- $label_text (string) – Text to put in the <label> tag
- $id (string) – ID of the form element that we’re making a label for
- $attributes (mixed) – HTML attributes
<?phpStep 2 Enter the given URL into the browser to see the result.
class Form_label extends CI_Controller {
public function index() {
$this->load->helper('form'); //load Form helper
echo form_label('What is your Name', 'username');
$attributes = array(
'class' => 'mycustomclass',
'style' => 'color: #000;'
);
echo "<br>";
echo form_label('Alternative method to use this function', 'username', $attributes);
}
}
?>
http://localhost/ci/index.php/Form_label
Press CTRL+U to see the tag produced by the above code.
15 form_submit(): This function is used to generate a standard submit button. Syntax:
form_submit([$data = ''[, $value = ''[, $extra = '']]]);Parameter description:
- $data (string) – Button name
- $value (string) – Button value
- $extra (mixed) – Extra attributes to be added to the tag either as an array or a literal string
<?phpStep 2 Enter the given URL into the browser to see the result.
class Form_submit extends CI_Controller {
public function index() {
$this->load->helper('form'); //load Form helper
echo form_submit('mysubmit', 'Submit Post!');
}
}
?>
http://localhost/ci/index.php/Form_submit
16 form_reset(): This function is used to generate a standard reset button. Syntax:
form_reset([$data = ''[, $value = ''[, $extra = '']]]);Parameter Description:
- $data (string) – Button name
- $value (string) – Button value
- $extra (mixed) – Extra attributes to be added to the tag either as an array or a literal string
<?phpStep 2 Enter the given URL into the browser to see the result.
class Form_reset extends CI_Controller {
public function index() {
$this->load->helper('form'); //load Form helper
echo form_open('form/send');
echo "<span>Username: </span>";
echo form_input('username', '');
echo "<span>Password: </span>";
echo form_password('password', '');
echo form_reset('mysubmit', 'Reset!');
}
}
?>
http://localhost/ci/index.php/Form_reset
Enter username and password and click on the reset button to clear both input fields.17 form_button(): This function is used to generate a standard button element. Syntax:
form_button([$data = ''[, $content = ''[, $extra = '']]]);Parameter Description:
- $data (string) – Button name
- $content (string) – Button label
- $extra (mixed) – Extra attributes to be added to the tag either as an array or a literal string
<?phpStep 2 Enter the given URL into the browser to see the result.
class Form_button extends CI_Controller {
public function index() {
$this->load->helper('form'); //load Form helper
$data = array(
'name' => 'button',
'id' => 'button',
'value' => 'true',
'type' => 'button',
'content' => 'My button'
);
echo form_button($data);
}
}
?>
http://localhost/ci/index.php/Form_button
Note:
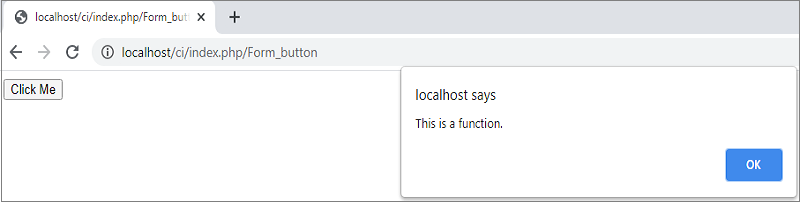
If you want to bind any action with this button through javascript, use the given example:
Step 1 Replace the code of file Form_button.php.<?phpStep 2 Create a view file form_button_view.php into the application/views directory.
class Form_button extends CI_Controller {
public function index() {
$this->load->helper('form'); //load Form helper
$this->load->view("form_button_view.php");
$js = 'onClick="my_function()"';
echo form_button('mybutton', 'Click Me', $js);
}
}
?>
<script>Step 3 Enter the given URL into the browser to see the result.
function my_function(){
alert("This is my function.");
}
</script>
http://localhost/ci/index.php/Form_buttonStep 4 Click on the click me! Button.
18 form_close(): This function is used to produces a closing </form> tag. Syntax:
form_close([$extra = '']);Parameter Description:
- $extra (string) – Anything to append after the closing tag, as is
<?phpStep 2 Enter the given URL into the browser to see the result.
class Form_close extends CI_Controller {
public function index() {
$this->load->helper('form'); //load Form helper
echo form_open('form/send');
echo "<span>Username: </span>";
echo form_input('username', '');
echo "<span>Password: </span>";
echo form_password('password', '');
echo form_button('submit', 'Submit!');
echo form_close();
}
}
?>
http://localhost/ci/index.php/Form_close
Press the CTRL+U button to see the source code.
19 set_value(): This function is used to set the value of an input form or textarea. Syntax:
set_value($field[, $default = ''[, $html_escape = TRUE]]);Parameter Description:
- $field (string) – Field name
- $default (string) – Default value
- $html_escape (bool) – Whether to turn off HTML escaping of the value
<?phpStep 2 Enter the given URL into the browser to see the result.
class Set_value extends CI_Controller {
public function index() {
$this->load->helper('form'); //load Form helper
echo form_open('form/send');
echo "<span>Username: </span>";
echo '<input type="text" name="username" value="'.set_value('username', 'Ram').'" />';
echo "<span>Password: </span>";
echo form_password('password', '1234');
echo form_button('submit', 'Submit!');
echo form_close();
}
}
?>
http://localhost/ci/index.php/Set_value
20 set_select(): This function is used to display the menu item of a <select> tag that was selected. Syntax:
set_select($field[, $value = ''[, $default = FALSE]]);Parameter Description:
- $field (string) – Field name
- $value (string) – Value to check for
- $default (string) – Whether the value is also a default one
<?phpStep 2 Open the application/views directory and create a file set_select.php
class Set_select extends CI_Controller {
public function index() {
$this->load->helper('form'); //load Form helper
echo form_open('form/send');
echo "<span>Username: </span>";
echo '<input type="text" name="username" value="'.set_value('username', 'Ram').'" />';
echo "<span>Password: </span>";
echo form_password('password', '1234');
$this->load->view('set_select.php');
}
}
?>
<span>Class: </span>Step 3 Enter the given URL into the browser to see the result.
<select name="class">
<option value="one" <?php echo set_select('class', 'one', TRUE); ?> >One</option>
<option value="two" <?php echo set_select('class', 'two'); ?> >Two</option>
<option value="three" <?php echo set_select('class', 'three'); ?> >Three</option>
</select>
http://localhost/ci/index.php/Set_select
21 set_checkbox(): This function is used to display a checkbox in the state it was submitted. Syntax:
set_checkbox($field[, $value = ''[, $default = FALSE]])Parameter Description:
- $field (string) – Field name
- $value (string) – Value to check for
- $default (string) – Whether the value is also a default one
<?phpStep 2 Open the application/views directory and create a file set_checkbox.php
class Set_checkbox extends CI_Controller {
public function index() {
$this->load->helper('form'); //load Form helper
echo form_open('form/send');
$this->load->view('set_checkbox.php');
}
}
?>
<span>Class: </span>Step 3 Enter the given URL into the browser to see the result.
Hindi:
<input type="checkbox" name="class" value="hindi" <?php echo set_checkbox('class', '1hindi'); ?> />
English:
<input type="checkbox" name="class" value="english" <?php echo set_checkbox('class', 'english'); ?> />
http://localhost/ci/index.php/Set_checkbox
22 set_radio(): This function is used to display radio buttons in the state they were submitted. Syntax:
set_radio($field[, $value = ''[, $default = FALSE]]);Parameter Description:
- $field (string) – Field name
- $value (string) – Value to check for
- $default (string) – Whether the value is also a default one
<?phpStep 2 Open the application/views directory and create a file set_checkbox.php
class Set_radio extends CI_Controller {
public function index() {
$this->load->helper('form'); //load Form helper
echo form_open('form/send');
$this->load->view('set_radio.php');
}
}
?>
<span>Class: </span>Step 3 Enter the given URL into the browser to see the result.
Hindi:
<input type="radio" name="class" value="hindi" <?php echo set_radio('class', '1hindi',TRUE); ?> />
English:
<input type="radio" name="class" value="english" <?php echo set_radio('class', 'english'); ?> />
http://localhost/ci/index.php/Set_radio
23 form_error(): This function is used to returns a validation error message from the Form Validation Library, associated with the specified field name. Syntax:
form_error([$field = ''[, $prefix = ''[, $suffix = '']]])Parameter Description:
- $field (string) – Field name
- $prefix (string) – Error opening tag
- $suffix (string) – Error closing tag
Note:
Check out the Form validation tutorial for example.
24 validation_errors(): This function is used to returns all validation error messages produced by the Form Validation Library, with optional opening and closing tags around each of the messages. Syntax:
validation_errors([$prefix = ''[, $suffix = '']]);Parameter Description:
- $prefix (string) – Error opening tag
- $suffix (string) – Error closing tag
Note:
Check out the Form validation tutorial for example.
25 form_prep(): This function is used to allows you to safely use HTML and characters such as quotes within form elements without breaking out of the form. Syntax:
form_prep($str);Parameter Description:
- $str (string) – Value to escape
Note:
The working of this function is the same as the PHP native function html_escape().

Share:


Comments
Waiting for your comments