
How to add signature in Gmail
by Devender
0 2937
If you conduct business online, your E-mail is the communication channel for any customer. An email signature will make your customers believe you are authentic. It should be informative, professional and should contain all the important information regarding you and your brand.
Even if you are not a professional, having a Gmail signature still has its own benefits for you.
I bet that caught your eye. So, let's discuss how you can also have a Signature in Gmail.
"You are a signature to be dealt with and inspire, only when you move into your authenticity." - Angie Karan
What is a Signature?
A signature is a unique identity that defines you; it may include your signature, your phone number, email address, your website, images, etc. It is added automatically at the footer of every mail.
How to add Signature in Gmail?
Adding a signature to your Gmail account has a lot of benefits and it merely takes 2 minutes to do it.
1 Open Gmail and click on the settings icon in the top right corner.
The first step is to open your Gmail account and you will find a "settings" icon in the top right corner of your screen.

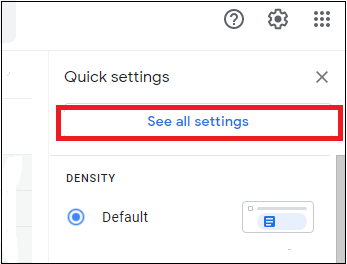
2 Move to "see all settings".
When you click on the "Settings" icon, a pop-up window will open where you will find "see all settings" options.
3 Scroll down to the "Signature" section in the general settings.
After opening all your settings, you will find a lot of options. Keep scrolling down until you reach the "Signature" section.
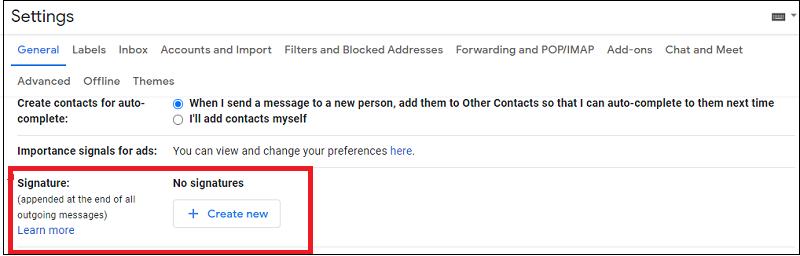
4 Click on the "Create new" button in the signature section.
In the signature section, you will find the "create new" option. Click on it to add your signature.
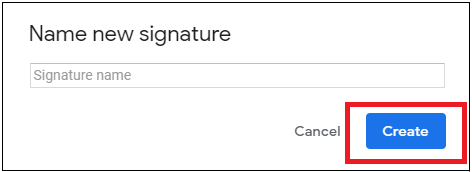
Name this new signature you are creating. After the name, click on the "Create" button.
5 Add your signature.
Now, you get to add your signature.
You can add images, your email address, your website, etc. here.
After adding, a preview of your signature will be available for you. You still get the option to edit or remove the signature if you don't like anything in it.

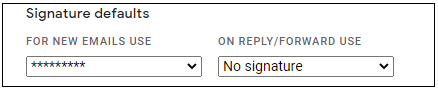
After that, move to the next section where you get some default settings that you want for your signature. These settings provide you with the option to use your signature in every mail or just on reply/forwarded mails. You can choose accordingly.
6 Save the changes.
When you are done finalizing your signature, just scroll down to the bottom of the page where you will find the “save changes†option. Click on it to save your changes and your signature is ready.

Now, it will automatically appear at the footer of every mail you write.
Benefits of having a Gmail Signature
- Looks professional
- Saves time
- Can be used as a promotional tool
- It portrays brand awareness
- Builds trust
Following are a few benefits of having a signature in Gmail.
Now, you have learned how to add your signature in Gmail. Please share your valuable feedback in the comments section. If you like this blog, please share it and if you don't want to miss out on any of our latest blogs, do subscribe to our free newsletter.

Share:
You May Also Like


Discount Coupons


Expand Your Business Reach


Comments
Waiting for your comments